Hello students,
For project 3, you are to illustrate an object moving through space. Think about what you might see in a storyboard, or still frames of an animated movie. To keep this interesting you will need to apply the concept of unity with variety. There will be a repetition of the same object, however many variations should take place to illustrate the movement.
This one involves some thinking and I encourage you to work out your ideas through sketches. Try to get those creative juices flowing!
In illustrating this, I think it is important to ask yourself the following questions:
1.) What path will this object be traveling in? Will it be straight, wavy, zig-zag, etc.?
2.) How will the angle or position of the object change as it moves through space? In the example of the leaf which I went over in class today, we observed that there can be many variations that occur as the leaf spins, rotates, twists and twirls in the air.
3.) Will the object be moving towards or away from us? If so, the scale can change to represent the appropriate perspective.
4.) Will the value change? A difference in light and dark value, can represent spatial differences as well as movement.
5.) Will the clarity change? Is it in sharp focus at times and blurry at times? This can illustrate a change in the speed (fast to slow, or slow to fast).
6.) Will there be a distortion? Often, when we look at photographs of something moving very fast, it appears more elongated.
The concepts above are just a starting point. You may use any combination of these, and also come up with some of your own to add more variety to your picture.
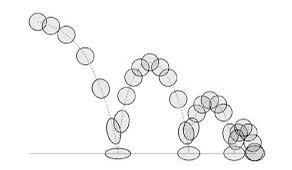
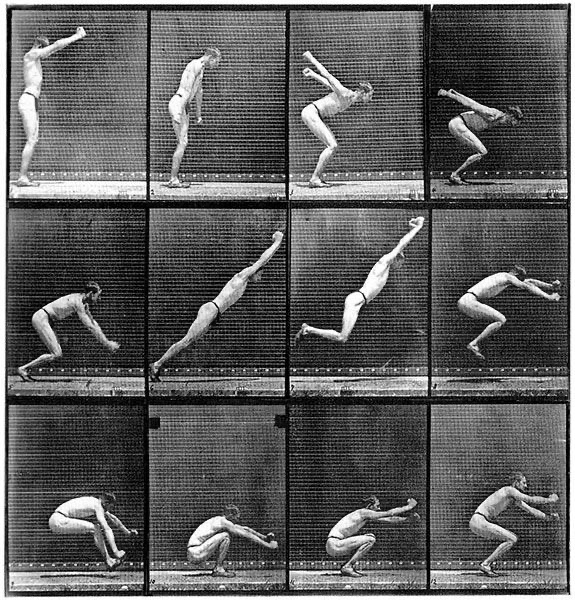
Below are some examples:

The other thing to consider with this project is rendering a background. The background should be a still environment that the object is moving through, such as a sky, a room, etc.
The object should move from left to right, just as you would see in a story board. There should not be separate frames for this project, as seen in the middle example. Each repetition will be a part of a single image existing within one frame (specifics for the formatting of that are listed below).
Format:
You will measure out a 1 inch border from the edges of your paper. This will be your frame of reference which your entire image will be contained within.
Technique:
Using your Micron black ink pens, you may use any of the techniques that we used in project 2. You may also use combinations such as stippling with cross hatching. These images are representational so think about optical value to add more believability to your drawings. You may use any other references you wish, such as photos or other illustrations to help guide you.
Due date:
This project will be due on Tuesday, 9/30.
Good luck!
